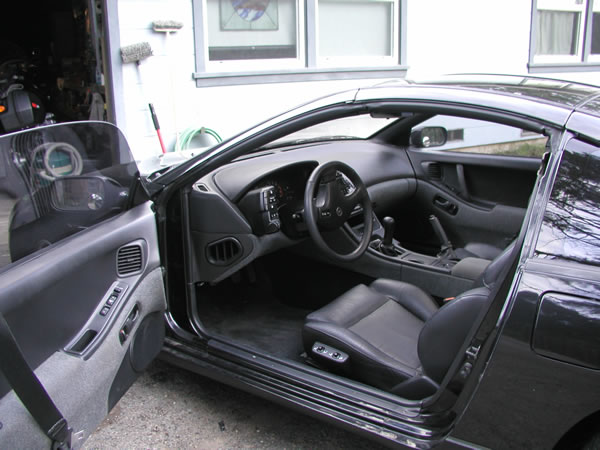
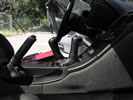
Short
Shift Kit
TopSpeed SHort shift kit purchased from Courtesy
Nissan.

|
|

|
| Kit
Contence |
Before |
After |
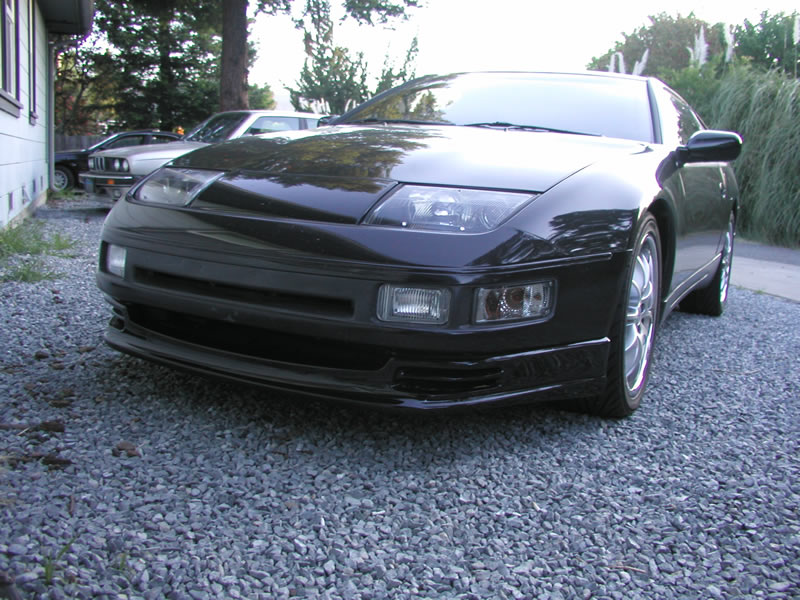
Bomex
Front Spoiler
Very nice fit and finish. Lower valence needed to be
trimmed for front turbo style vents.
Injen
Intake Kit
Hard pipe intake kit from Injen. Very good fit and
finish, no noticable performance increase from the stock setup but
I am sure there is one visible on a dynometer.

|
|

|
| Before |
|
After |
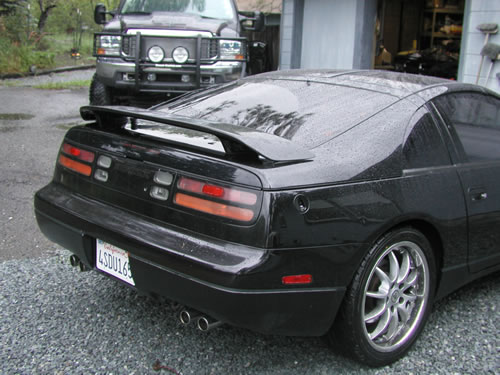
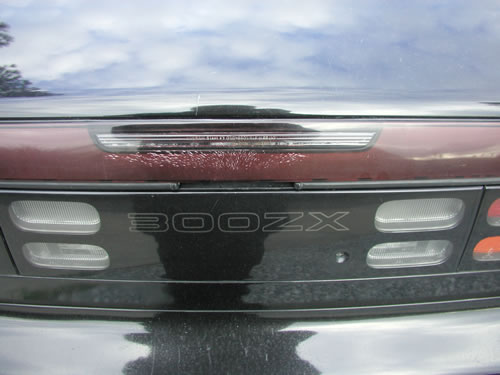
Japan
Spec Wing
This wing was ordered from Ionic
Dynamics . Great fit and finish. The guys at Icon Dynamics have
great service and an excellent product. Wing came primed and ready
to shoot only minor body work needed to make it perfect. They do
not have a phone number on their web site but they are good people.
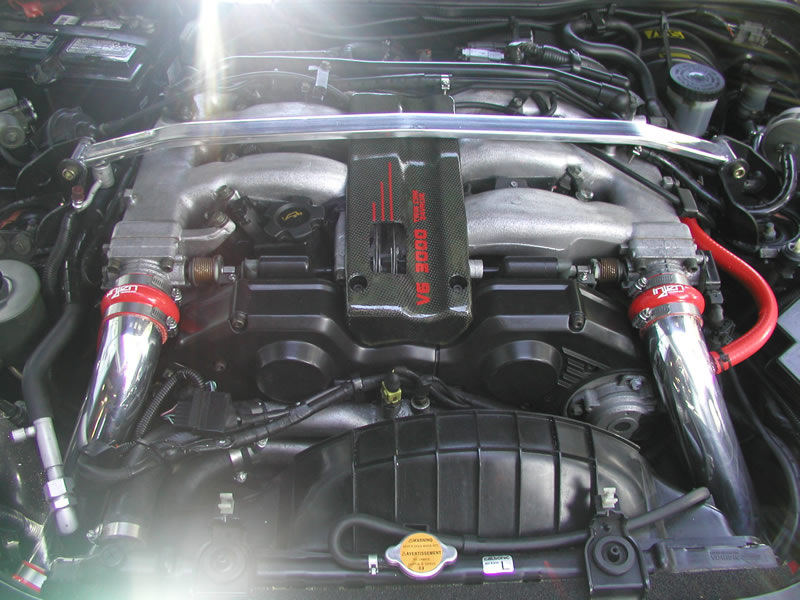
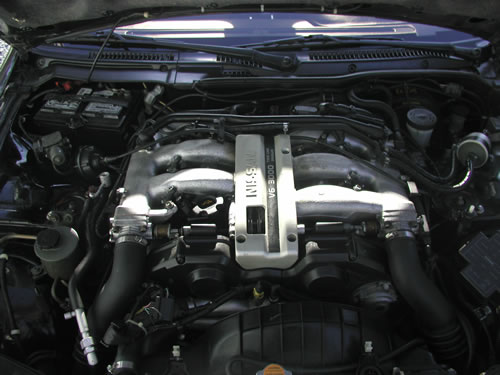
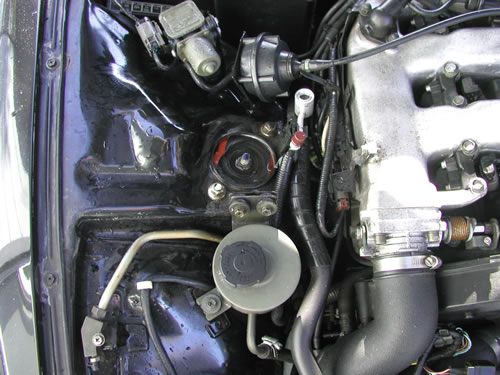
Manifold
Cover
The stock cover was discolored with some cracking.
Rather than spend $80 on a new one I decided to cover the existing
one with Carbon Fiber and re-create the factory style badge in red
vinyl graphics. The rest of the engine and car will also be detailed
in red in the near future.
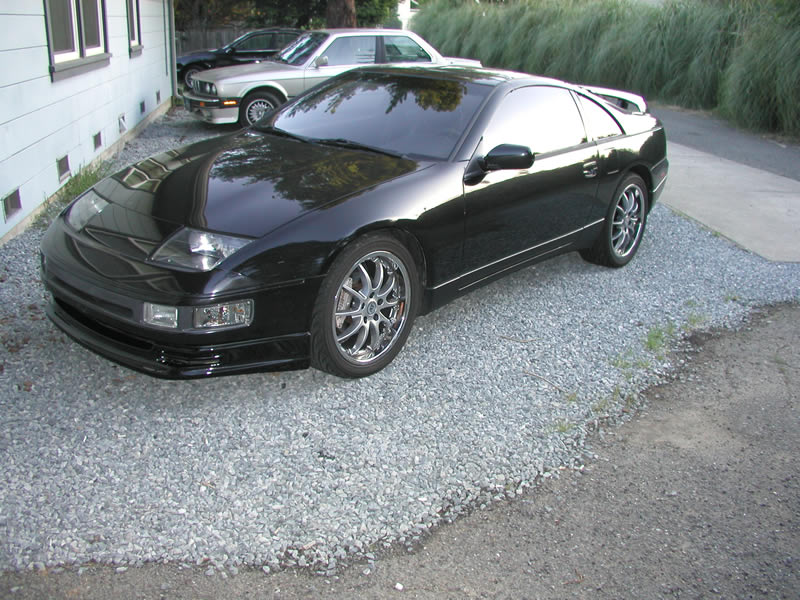
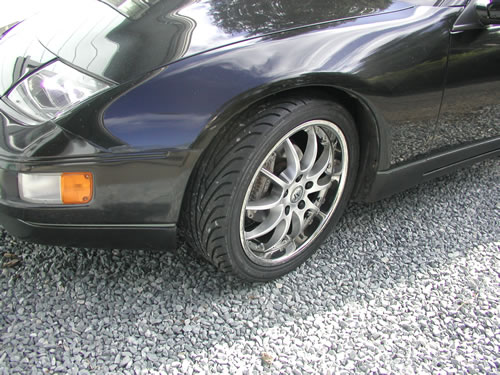
Wheel
Upgrade
A new set of AT Italia 18x8" wheels with Yokohama
AVS ES100 Size:245/40-18

|

|

|
| Before
& After |
Side
View |
Close
Up |
Fog
Light Upgrade
I noticed there were a couple of people on E-bay selling
fog light upgrade kits that were modified to emit 50% more light.
Wondering how they did it I looked into my stock fog light housing
and found the only thing there is to modify. By removing the light
cover inside the fog light you get a much better light pattern as
shown in the images bellow:
| |
|
|
| Light
bulb holder removed with hat still in place |
Light
bulb cover removed from bulb housing |
Notice
the light on the ground with the brighter side >>> |
| |
|
|
Notice
the better light on the ground |
|
View
from Top of car |
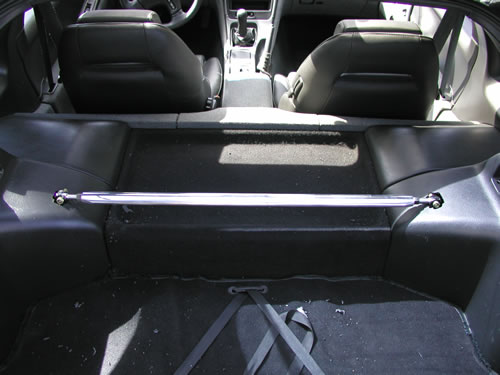
Installing
a Rear Strut Bar
|
|
|
Left
Panel Removed |
Left
Bracket Installed |
Left
Side Installed |
|
|
|
| |
Right
Side Installed |
Installed |
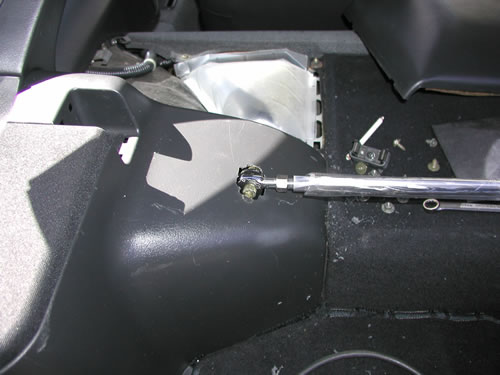
Installing
a Front Strut Bar
Front strut Tower bar is designed to stabilize the
front suspension in order to keep consistent suspension geometry
during heavy load. The front bar settled the car down a log and
prevented the car from twitching under heavy cornering and during
bumps.
|
|
|
|
Before
Installing |
Left
Side Location |
Right
Side Location |
Final
look installed |
|
|
|
|
| |
Left
Side Installed |
Right
Side Installed |
|
Recovering
the Rear with Carbon Fiber
The stock rear 3rd brake light panel is rather cracked and discolored
from the years of lifting and sitting in the sun. A simple solution
for this is to simply cover the existing panel with carbon fiber
for a smooth look. Carbon fiber will allow light to shine through
it, so the 3rd brake light will shine through the material giving
it a ghosted look.
| 
|

|

|
| Stock
panel |
Cracking
the the middle |
Piece
laid out for pattern |
| 
|
|
|
| Initial
covering of panel |
After
Drying Trim with razor |
Gloss
coat is applied |

|

|

|
| The
2nd coat gives the gloss |
Final
Installation and the panel blends into the car much better.
Although there are still some waves in the panel they can
be polished out after a week of cure time. |

|
| |
|
|
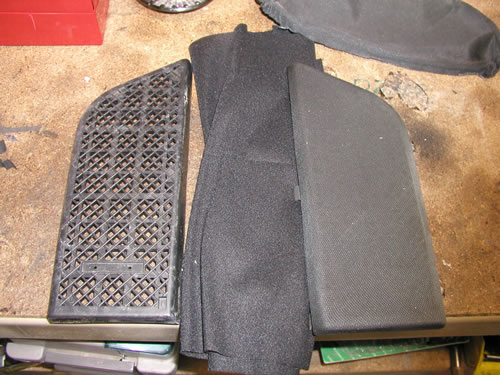
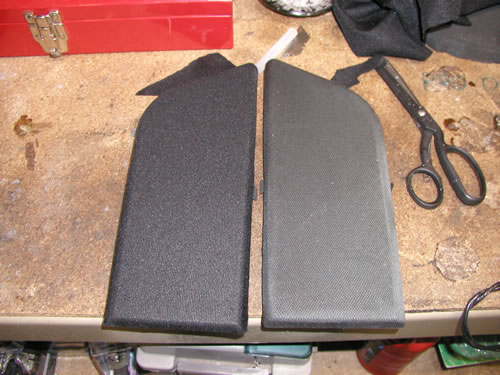
Rear
Speaker Grills
The stock rear
speaker grills had faded to a greenish grey color over time. I decided
to recover them with new grill cloth that I picked up at my local
stereo shop.
|
|
|
|
Before
Covering |
Removal
of cloth |
Before
and After |
Final
look installed |
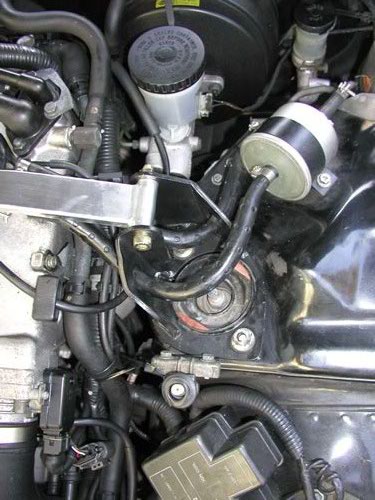
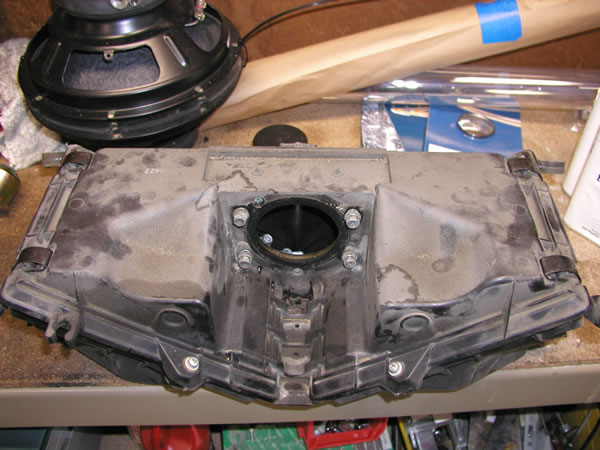
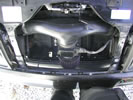
K&N
Filter upgrade
| |
|
|
| Stock
setup |
Air
box lid and filters removed |
Lower panel folded up and remainder of air box is removed |
| 
|
|

|
| With
the new filter in place |
Filter
extends well into the lower air intake. |
Stock
air box removed from Car. |
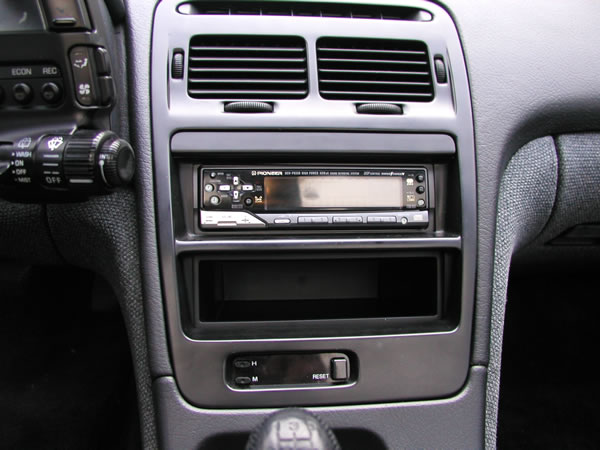
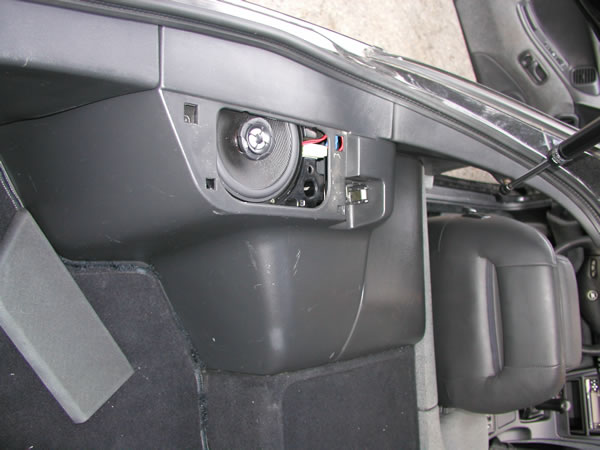
Stereo
Install and update:
Remove the stock Bose System and install a Pioneer Deck along with
some JBL Speakers. After the stock system is removed the "Bose"
center cover is replaced with a factory pocket for more usable space.
| 
Deck Install
|
|

Rear Speakers
|
All
orriginal and stock:
This car is in need of cupholders!
Proud
Member of:

|